
I’m here with some quick makeup tips and tricks to get you Party Ready!
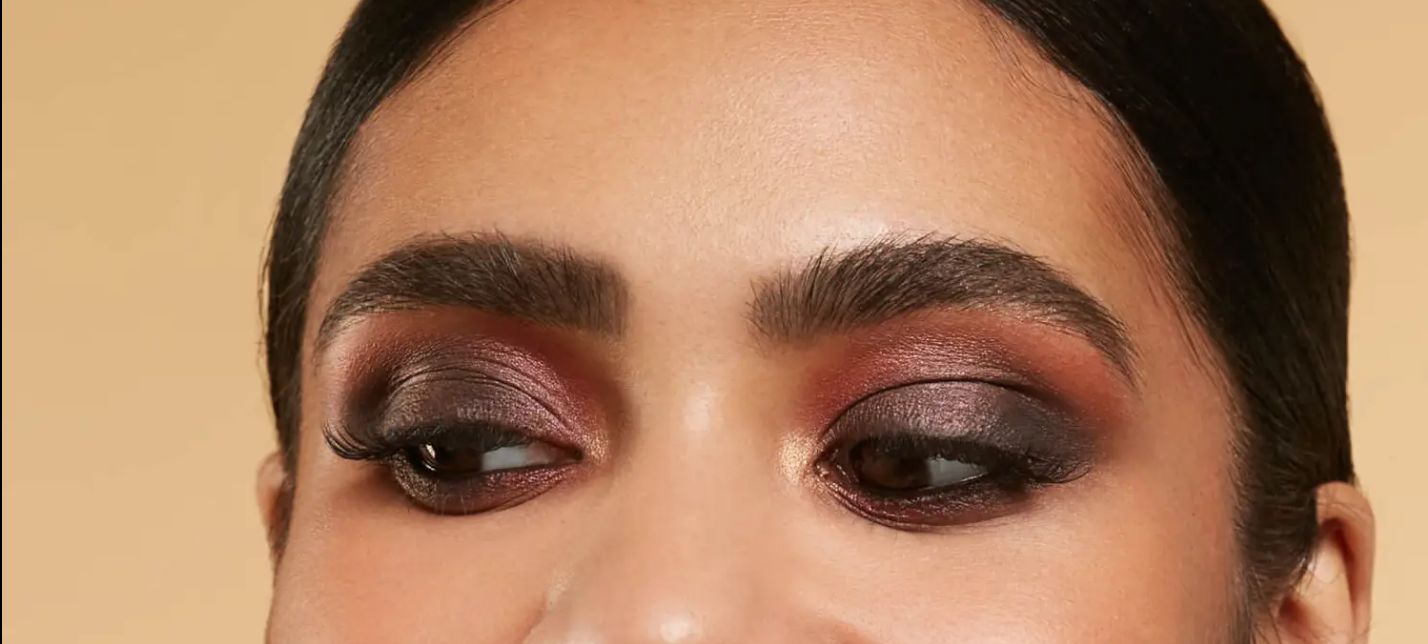
This is the Smoky Eye Edition and our first stop to perfecting that party look ready for the Work Do, the Girls Brunch or the big bash of the year!
The smoky eye is something a lot of us won’t even attempt. It sounds complicated, it looks complicated and you often feel like if you attempt it you’re going to look like you been punched in the face.
I’ve heard it all before.
But in this post I am going to put all that to bed and show you that a smoky eye really isn’t hard at all. You can totally create this look yourself and step out at that party season do, looking glamourous, confident and ready to PARTY!
If you’re just here for the discount, jump to it.
Shall we dive straight in?
Party Season Ready, Smoky Eye here we come…
Important first step!
It is crucial when creating a smoky eye, or any eye look that is quite heavy, dark or involves sparkle, that you do your eye makeup FIRST. You will most likely get some fall out from your eyeshadow and cleaning that up under your eyes when you’ve just perfected your base, is soul destroying! So, eyes first.
Prep
No matter if you’re using powders, creams or sticks to create your smoky eye, I would always prep the lid first. There is nothing worse than spending time creating a beautiful smoky eye to walk in to the bathrooms at your event, look in the mirror and see all that colour pooled together in the crease of your eye. Nightmare! So, get yourself an eyeshadow primer which will create a smooth base to work on and stop your eyeshadow moving.
Chose your weapon
You can create a smoky eye with powder or liquid eyeshadows, creams or shadow sticks. Or a combination of these which is what I find the most simplest and effective. You are also going to need at least one, good eyeshadow buffing brush. Choose one that is fluffy and soft. Like this fluffy Blender Brush from Illamasqua.
Pick your shade
A Smoky Eye does not have to mean a black eye! You can create a smoky eye look with ANY colour. If you prefer browns and bronzes, go for that. If you prefer to work with colour, like a green or blue, that’s great too. You also don’t need to pick dark shades, you can create a natural smoky eye with neutral, light shades to compliment your skin tone, or why not try soft smoky pink hues? Any shade works. A smoky eye is simply the style of the eyeshadow. A blended out, smoky effect, fading from bold to nothing.
The Basics
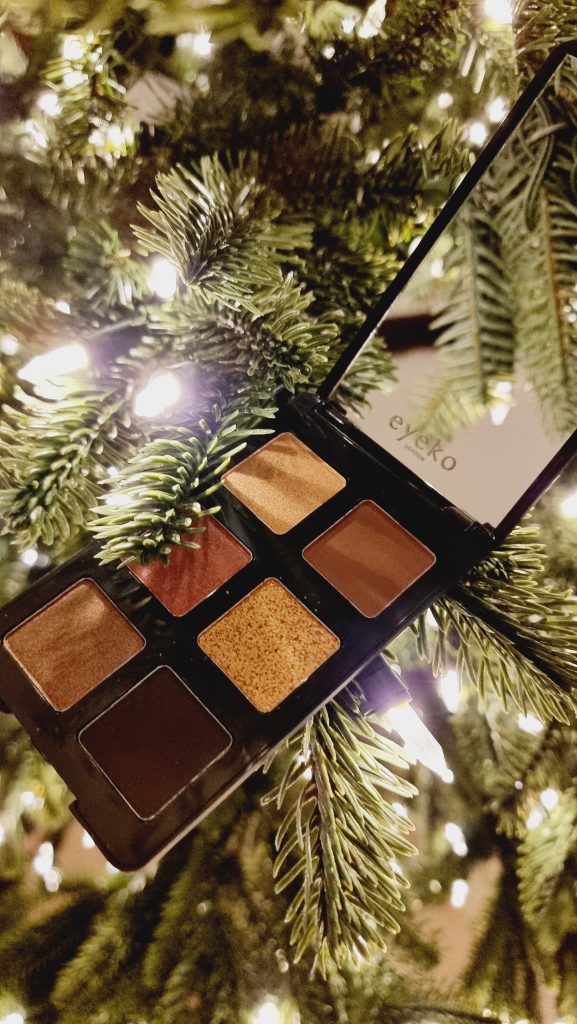
If you are new to creating a smoky eye a simple way to begin is by purchasing a small eyeshadow palette like this Limitless one from Eyeko. They are generally put together with colours that are useful together. Light shades through to dark, which compliment each other and are fantastic for creating a smoky eye.
Lets Begin!

- Start with a light, matte colour and pop that all over the lid. Using this all over will help blend all the other colours more easily.
- Using the same brush pick up the next deeper shade and apply this to the crease of your eye, making sure to blend up into your previous shade.
- Then use your darker shades on your mobile lid, using the same brush again and blending up into the previous shade. You can continue packing on the colour until you have the desired depth of colour.
- Blend, blend, blend! And then blend some more. You can go back in with your lighter shades to help the blend if needed. Or use a clean brush to blend away the edges.
- Now using a mid shade that you’ve already used, run your brush under your lower lash line and blend out. I often find this looks too low when I first start, but trust the process!
- Using the darkest shade, add some depth to the outer corner of your lower lash line, only.
- A smoky eye is never complete without lashings of mascara! I use eyelash curlers first to get the biggest impact and then use a lengthening mascara which I can build up.
That’s your basic smoky eye complete! Wooo!
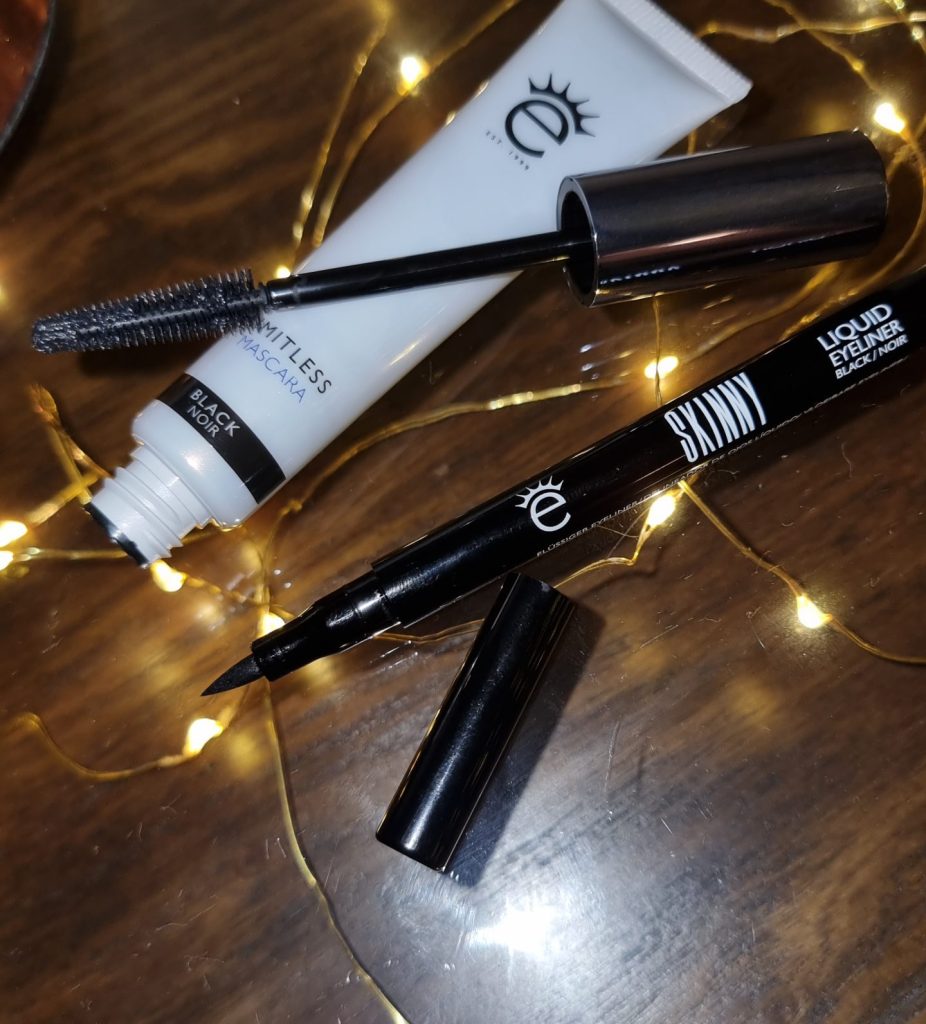
To finish the look and to add some more drama to your smoky eye look, you could add some black or brown eyeliner to your water line, or use a liquid pen eyeliner like this Skinny Liner from Eyeko to line your top lid and add a flick.
Or for something a bit special, use your finger to pick up a shimmer shade from your palette and tap that on to the centre of your mobile lid.
Eyeko do the best mascaras, hands down! Don’t believe me? Check out my Vegan Mascara post where I try out a whole bunch of mascaras with some interesting results!
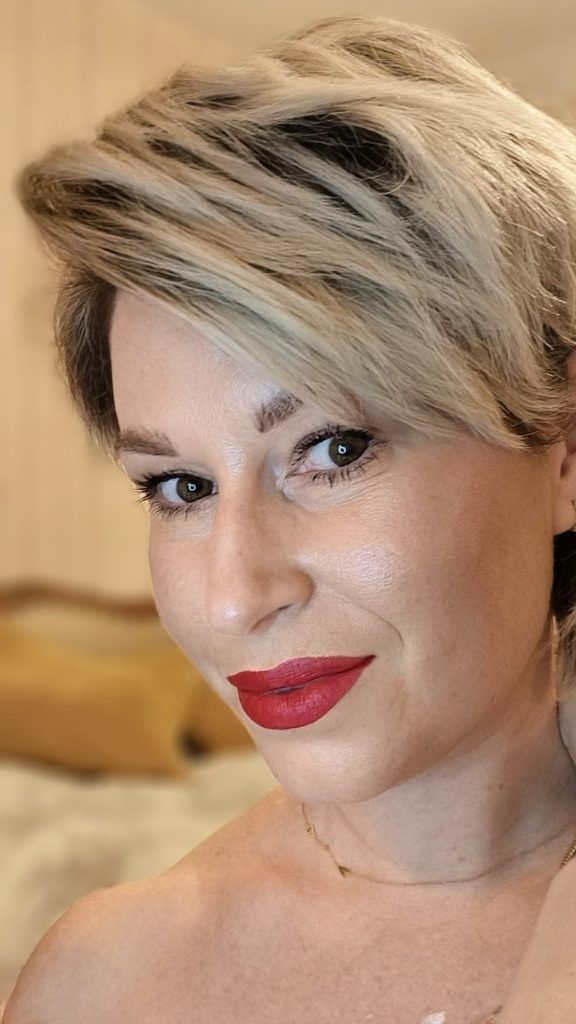
And there you have it – Smoky Eye perfection!
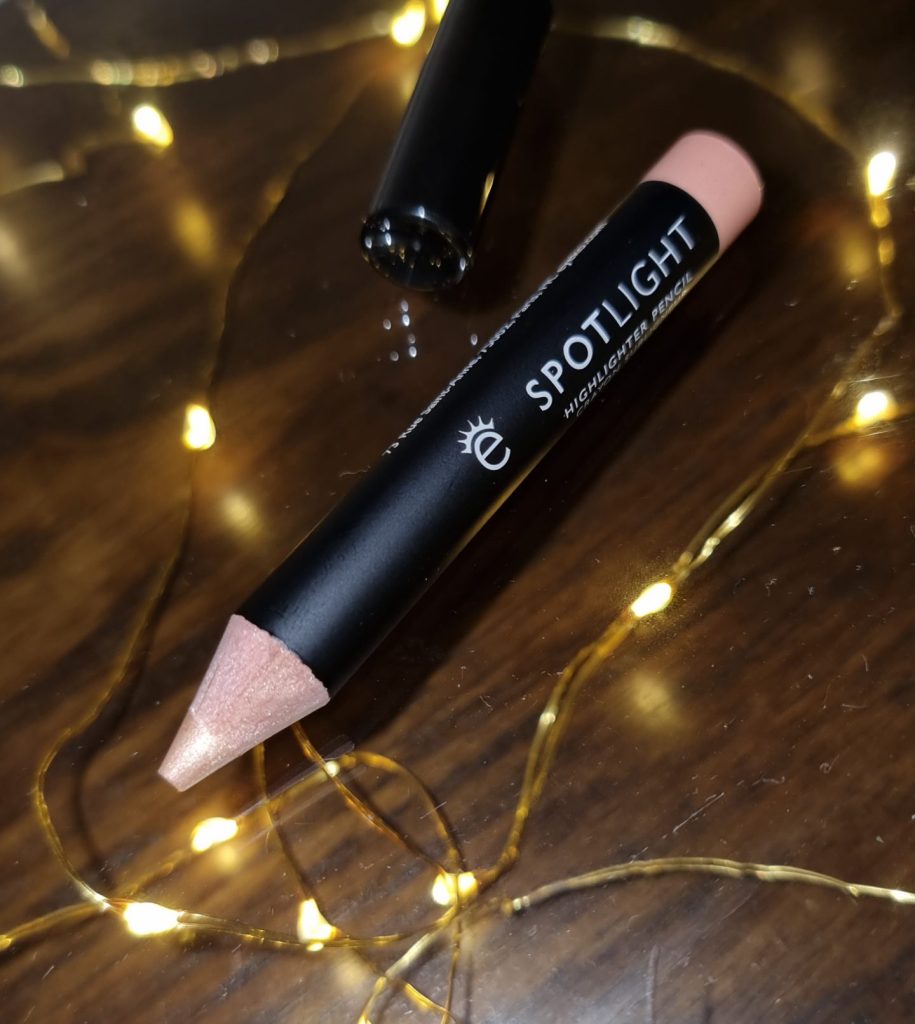
You can of course add some faux lashes to your smoky eye look. Or why not add a highlight to your brow bone and inner corners of your eyes to make the whole look pop. A highlighter pencil is great for this an makes it so simple.
All the products I have mentioned and linked in this post are both Cruelty Free and Vegan. To shop Eyeko’s full vegan list, see here.
Thank you to Eyeko!
Eyeko have kindly given me a discount code to share with my readers. Use code EYEXNICHOLA at Eyeko.co.uk
Next up in the series…
Glowing Skin
Thank you!
Thank you for stopping by and as always, I’d love to hear your feedback in the comments.
Until next time…. N x
As always…
Some links in this article may contain affiliate links which could mean I earn a commission on anything you go on to purchase at no additional cost to yourself. This helps to support my small business and the time it has taken to write this post. So thank you!